Genymotion
Genymotion is an Android emulator that actually works. If you don't have a device, (or more realistically all the devices) then you'll need to test your apps out on an emulator. To see all the great things that Genymotion has to offer, check out their website.
Also, there's a blogpost written by Gant Laborde for using Genymotion with RubyMotion. It covers much the same ground I do here, except it is geared at getting RubyMotion users going so there are some differences.
What's Genymotion?
Genymotion is an app
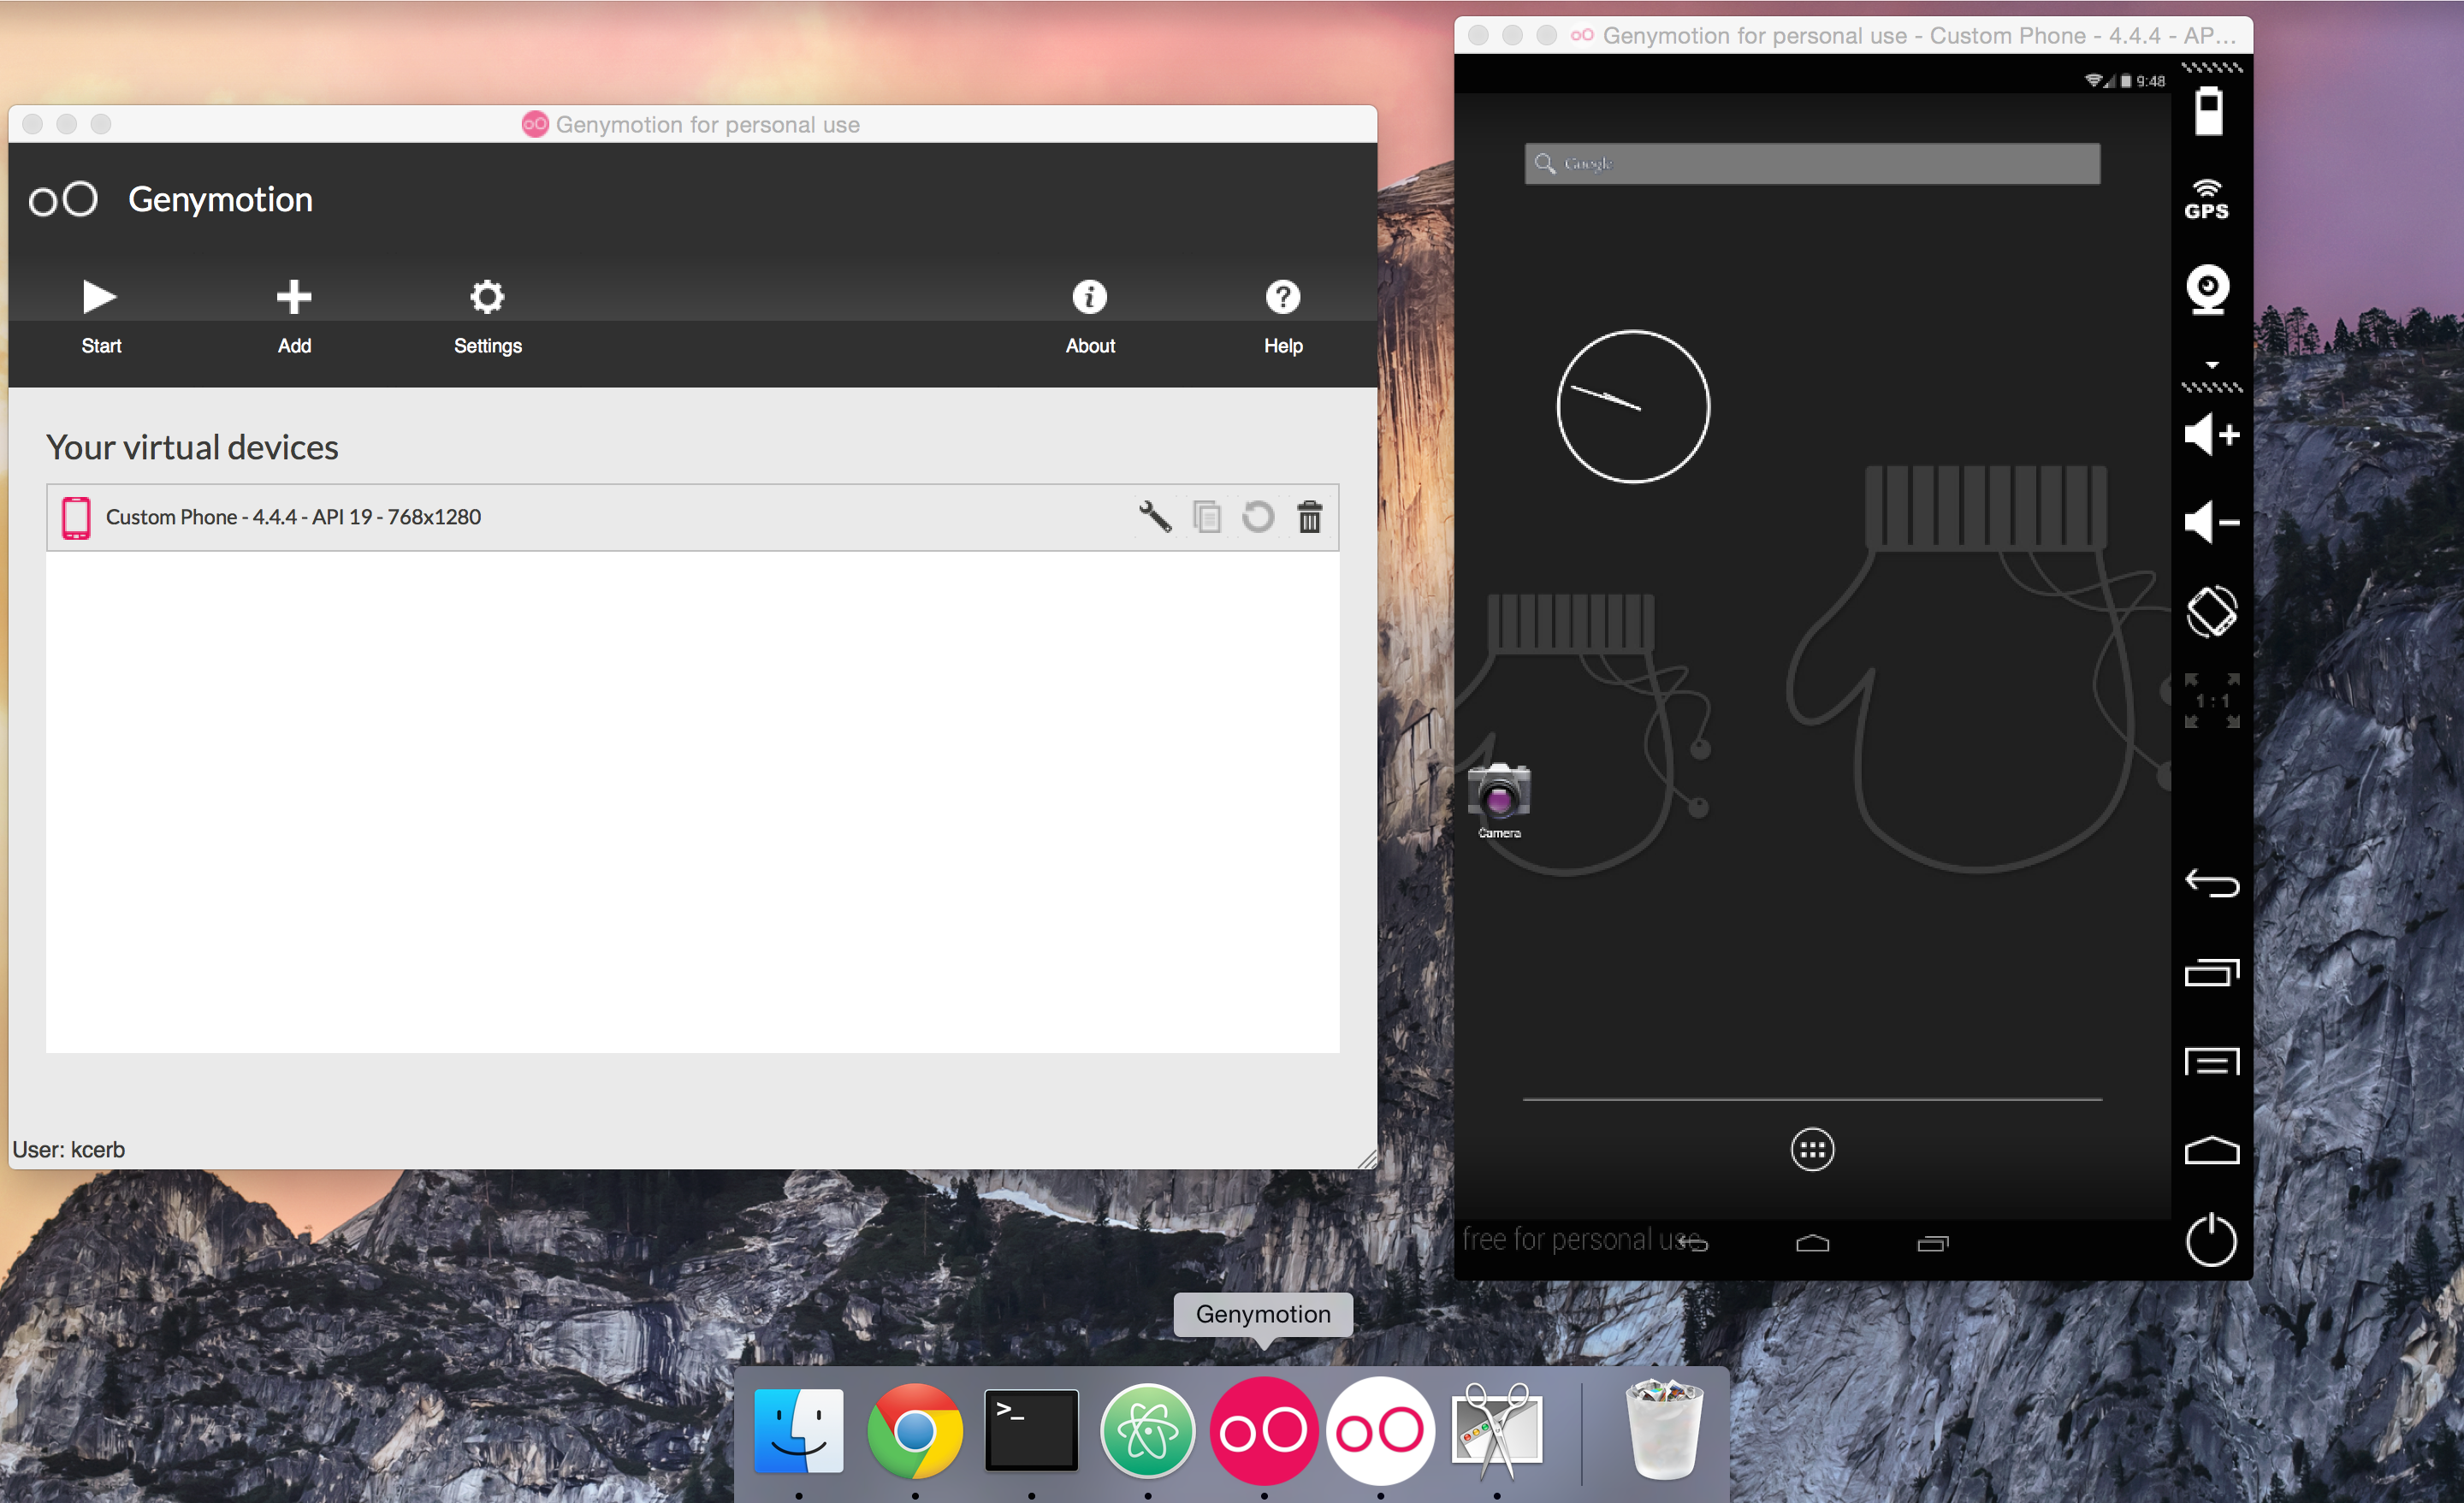
On the left there (once set up) you'll see a list of virtual devices that you've downloaded, and when you start one you'll get a window at the right.
Get Genymotion
First thing I want you to do is get a free account with Genymotion. You need it to run their stuff. So just follow this link, follow the instructions and don't come back until you're signed in.
The Homebrew Route
If you're on OSX you should use Homebrew to get Genymotion going. If you're new to Homebrew just click on the link above and install according to their instructions.
With Homebrew installed run the following:
$ brew update
$ brew doctor
If you get errors you'll need to resolve them, if you get warnings don't worry about them. Next you need cask:
brew install caskroom/cask/brew-cask
With those components in place, all you need now is to install VirtualBox and Genymotion. You can do both in one fell swoop:
$ brew cask install virtualbox genymotion
If all goes well, the result will be that you get the Genymotion app symlinked your User Applications (not the normal applications place):
==> Symlinking App 'Genymotion Shell.app' to '/Users/KC/Applications/Genymotion Shell.app'
==> Symlinking App 'Genymotion.app' to '/Users/KC/Applications/Genymotion.app'
The non-Homebrew Route
I'm no expert at this, and I don't have access to testing it on Linux or Windows so I'll just have to give you an outline:
(Note that you'll need that free Genymotion account to perform step 2)
Get Devices
If you double-click that Genymotion app you'll see the following:
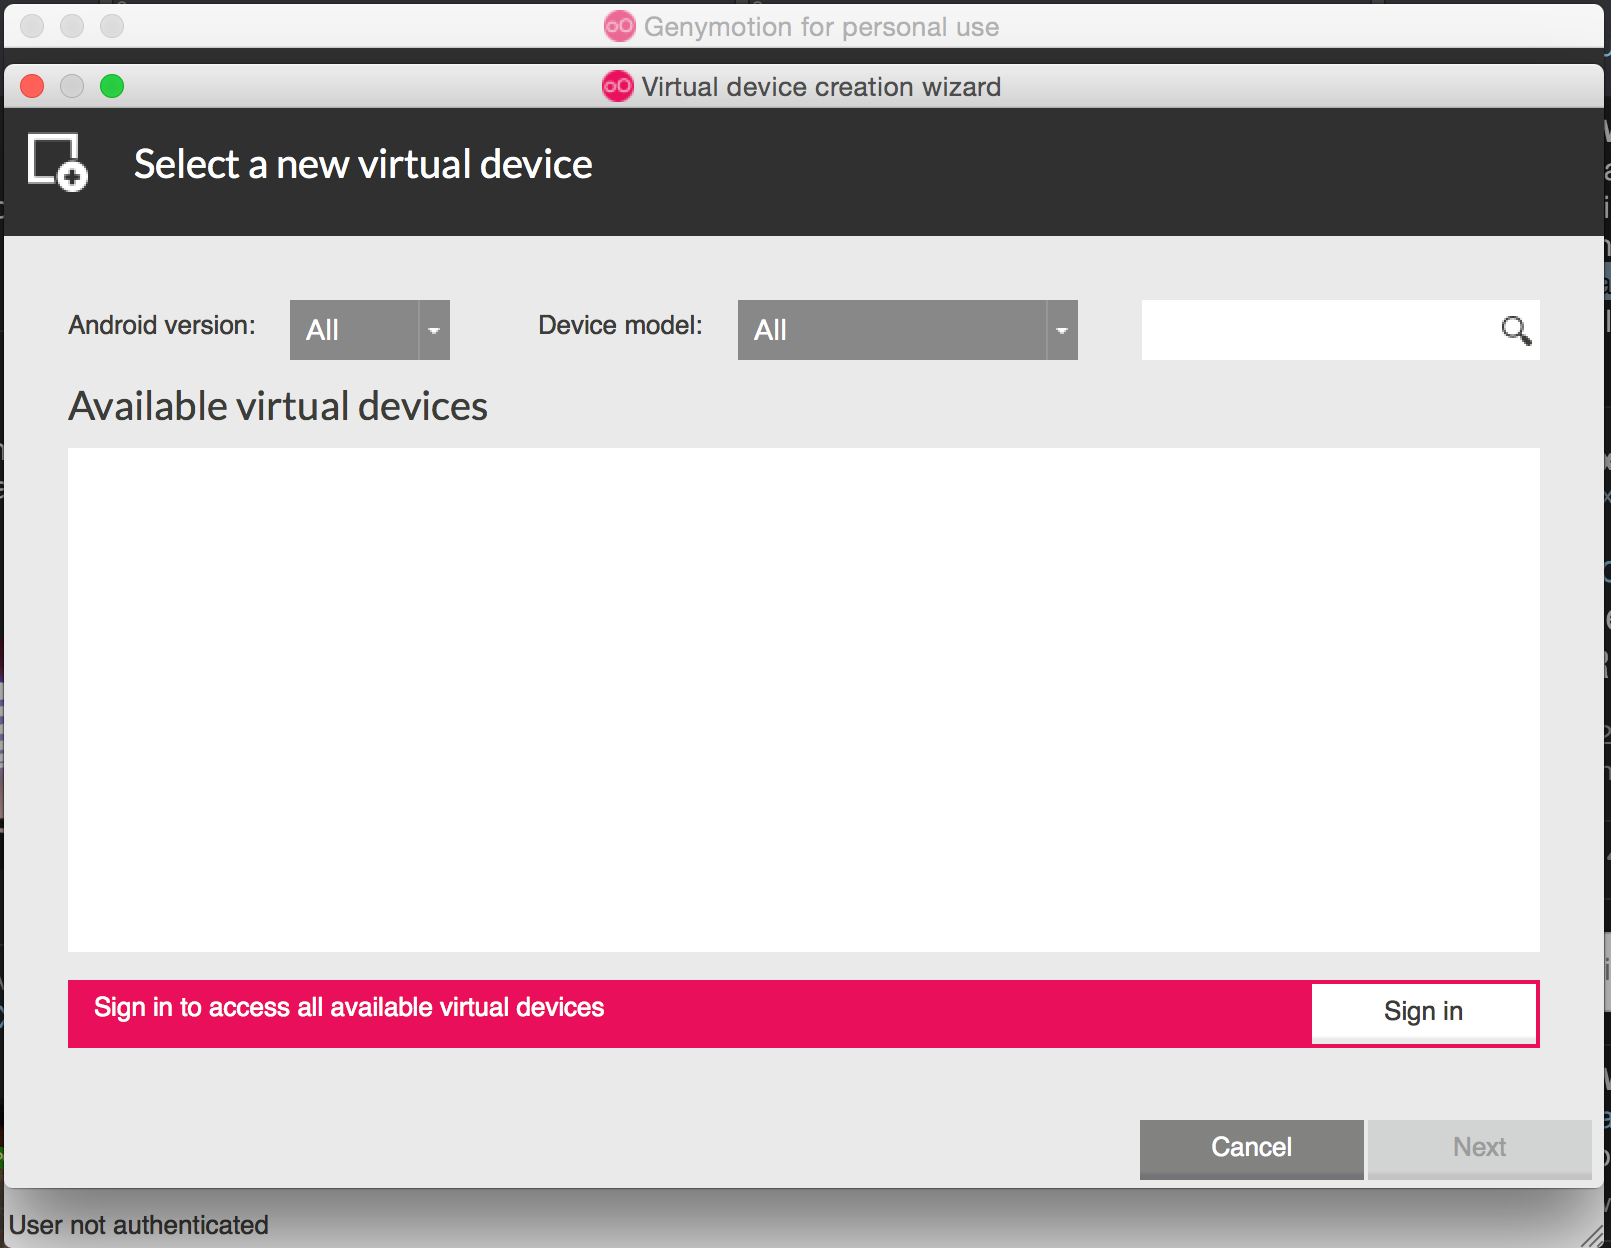
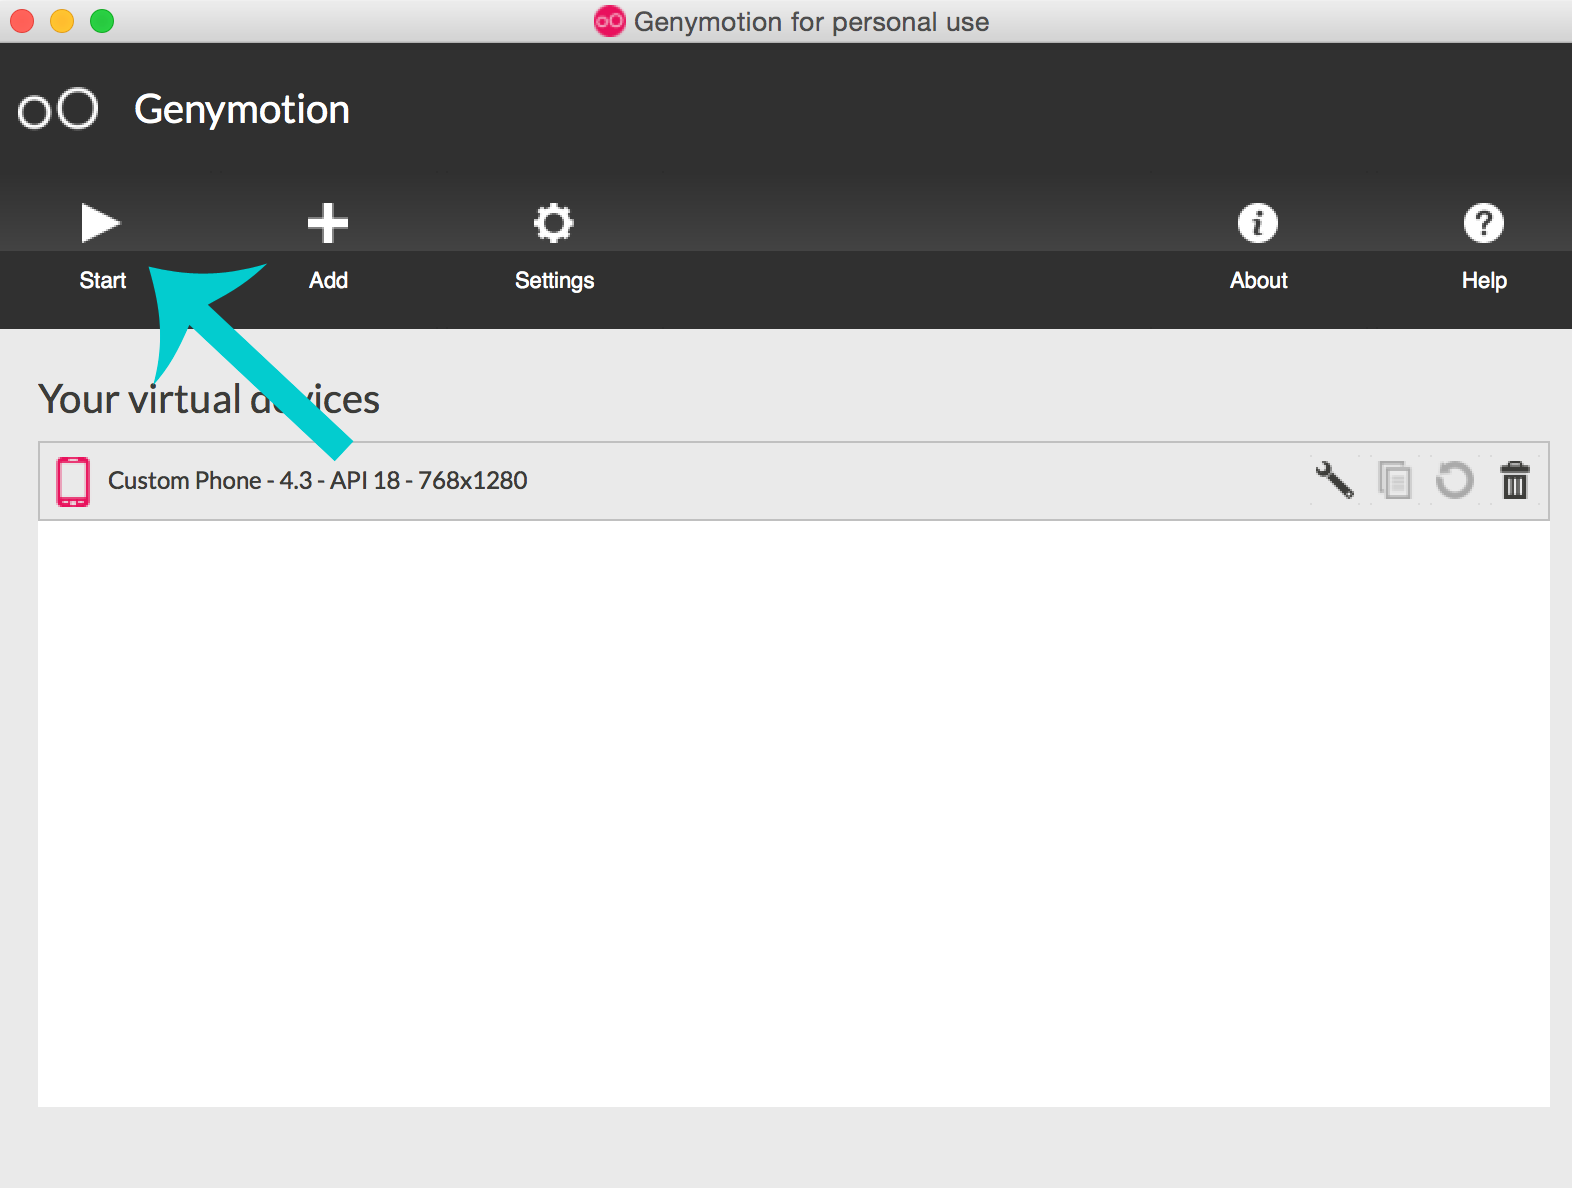
To get going, just click that pink bar at the bottom and sign-in with your account info. You'll see a long list of devices, select one, install it and start it with the play button.
Using the Device
According to the Genymotion docs, all we need to do now is drag-and-drop a fully built APK over to the device
and it will be installed. You can find the APK for a finished project inside the bin/ directory with the name AppName-debug.apk.
Unfortunately, when I tried this with the APK we built in the first lessons, the app was unresponsive! Go ahead and give it a shot, if it works (meaning you get the "download ruboto core" splash page) then don't worry about the rest of this tutorial! If it doesn't work, read on.
Adding x86 support
After a bit of digging, it seems that the trouble is I wasn't supporting the x86 architecture. Luckily our old friend the SDK manager has us covered.
Type android sdk in your terminal to bring up the SDK manager.
It may have a few checkboxes checked already for you.
Sidenote - In this demo I'm going to focus on API 19 since that's the API my phone runs on. You're free to work on any API you choose (Ruboto's default is 16).
In the SDK manager I've selected the API 19 folder and checked the lines having to do with x86:
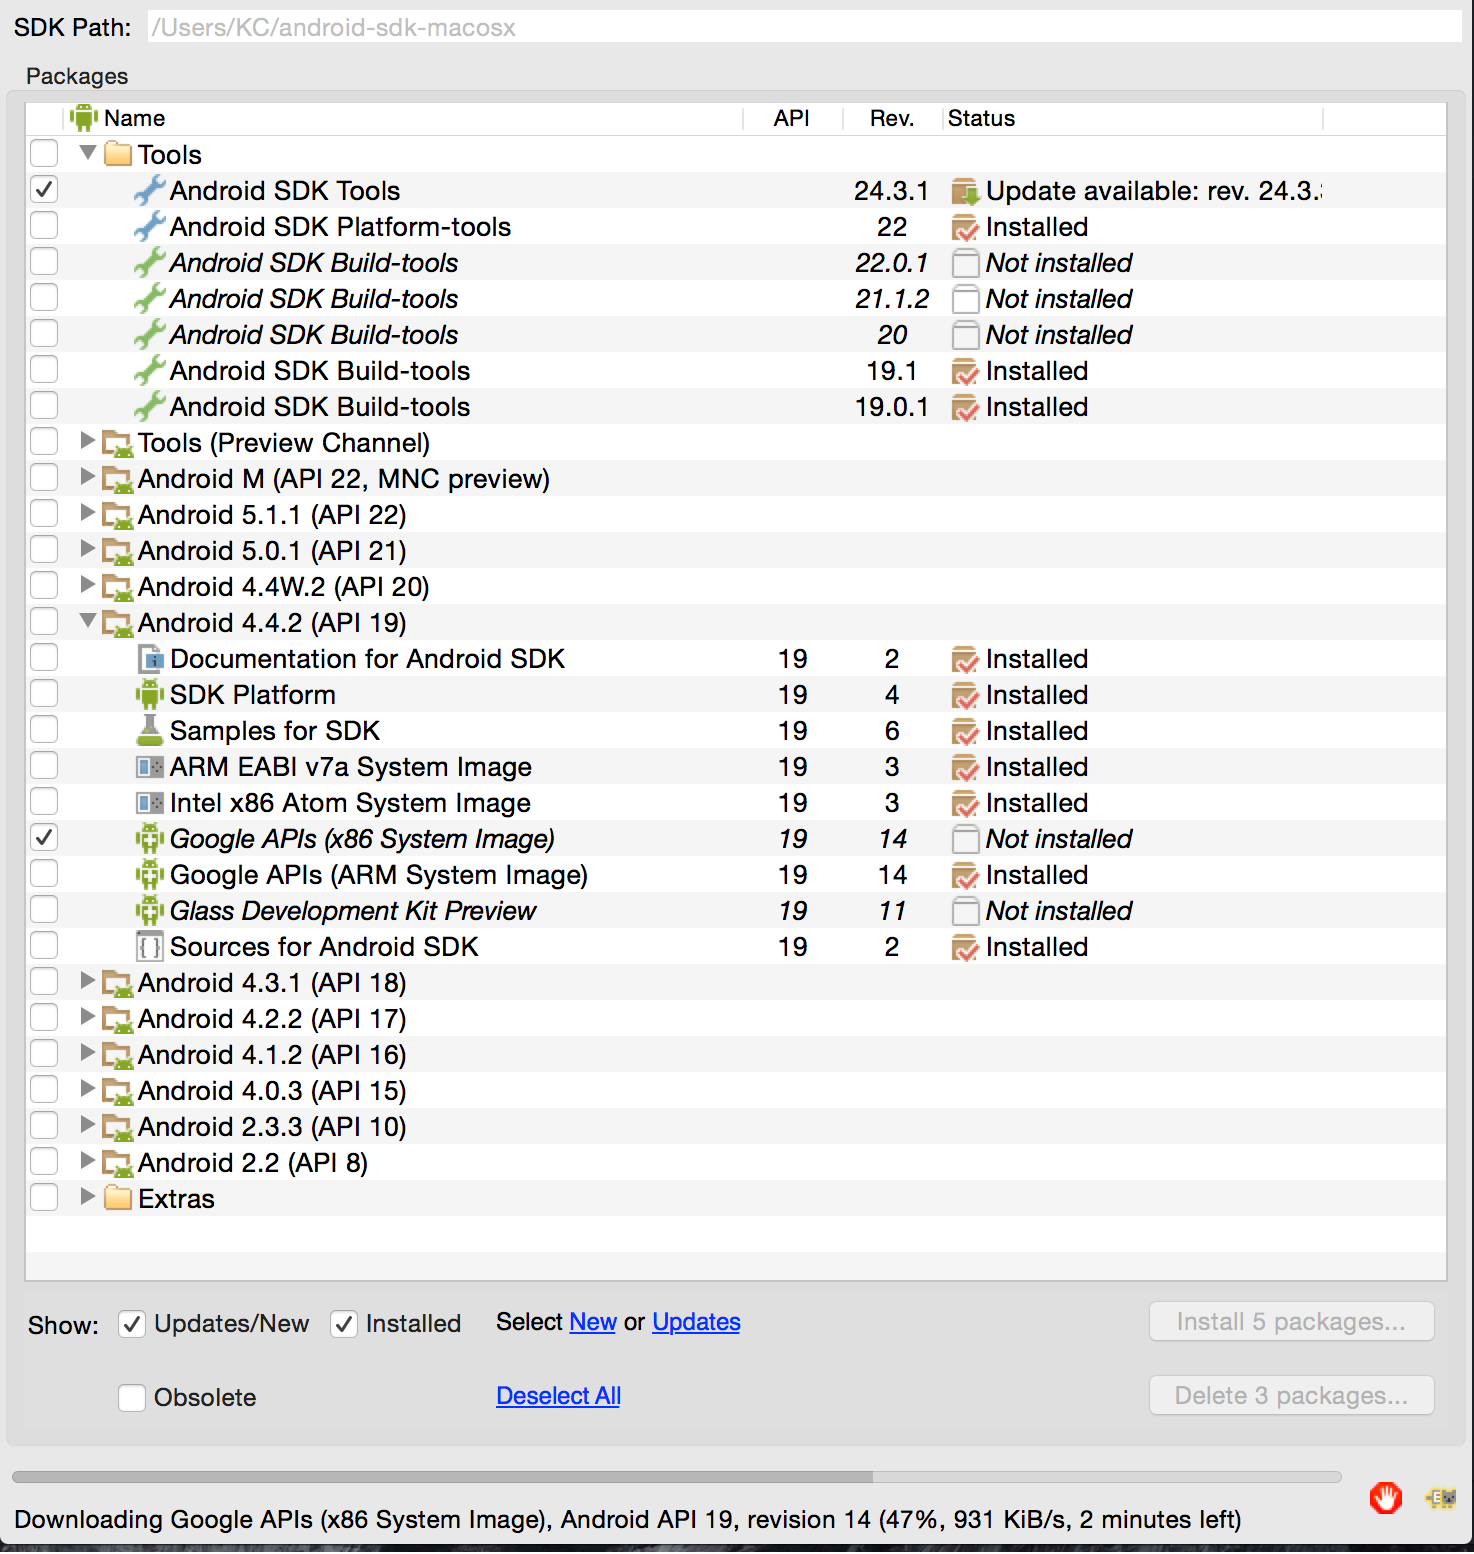
Next I selected "Install 5 packages" in the bottom right corner and accepted the user agreements. A few minutes later the SDK manager finished and I closed it.
It's important to know at this stage, I'm not sure which update fixed my problem! Since writing this tutorial I've tried several combinations and am having trouble reproducing my initial error. At first I thought it was the API-19 "Intel x86 Atom System Image" from above, but I'm beginning to suspect it was the "Google APIs (x86 System Image)" because things now work for my API-16 apps as well!
Rebuild
If you have already built an app over in the first lesson then you can rebuild it using the new tools via a simple call to rake from the project directory. If you are coming here from the first lesson and have never built a Ruboto app then do the following at your terminal in a directory where you want to keep your apps:
 $ ruboto gen app --package com.tutorials.quick_start
 $ cd quick_start/
 $ rake
Now go into the bin/ directory, select FirstApp-debug.apk (if you're using the app we built in the first lesson) or QuickStart-debug.apk and drag it onto the Genymotion device. If all goes well you will get the following:
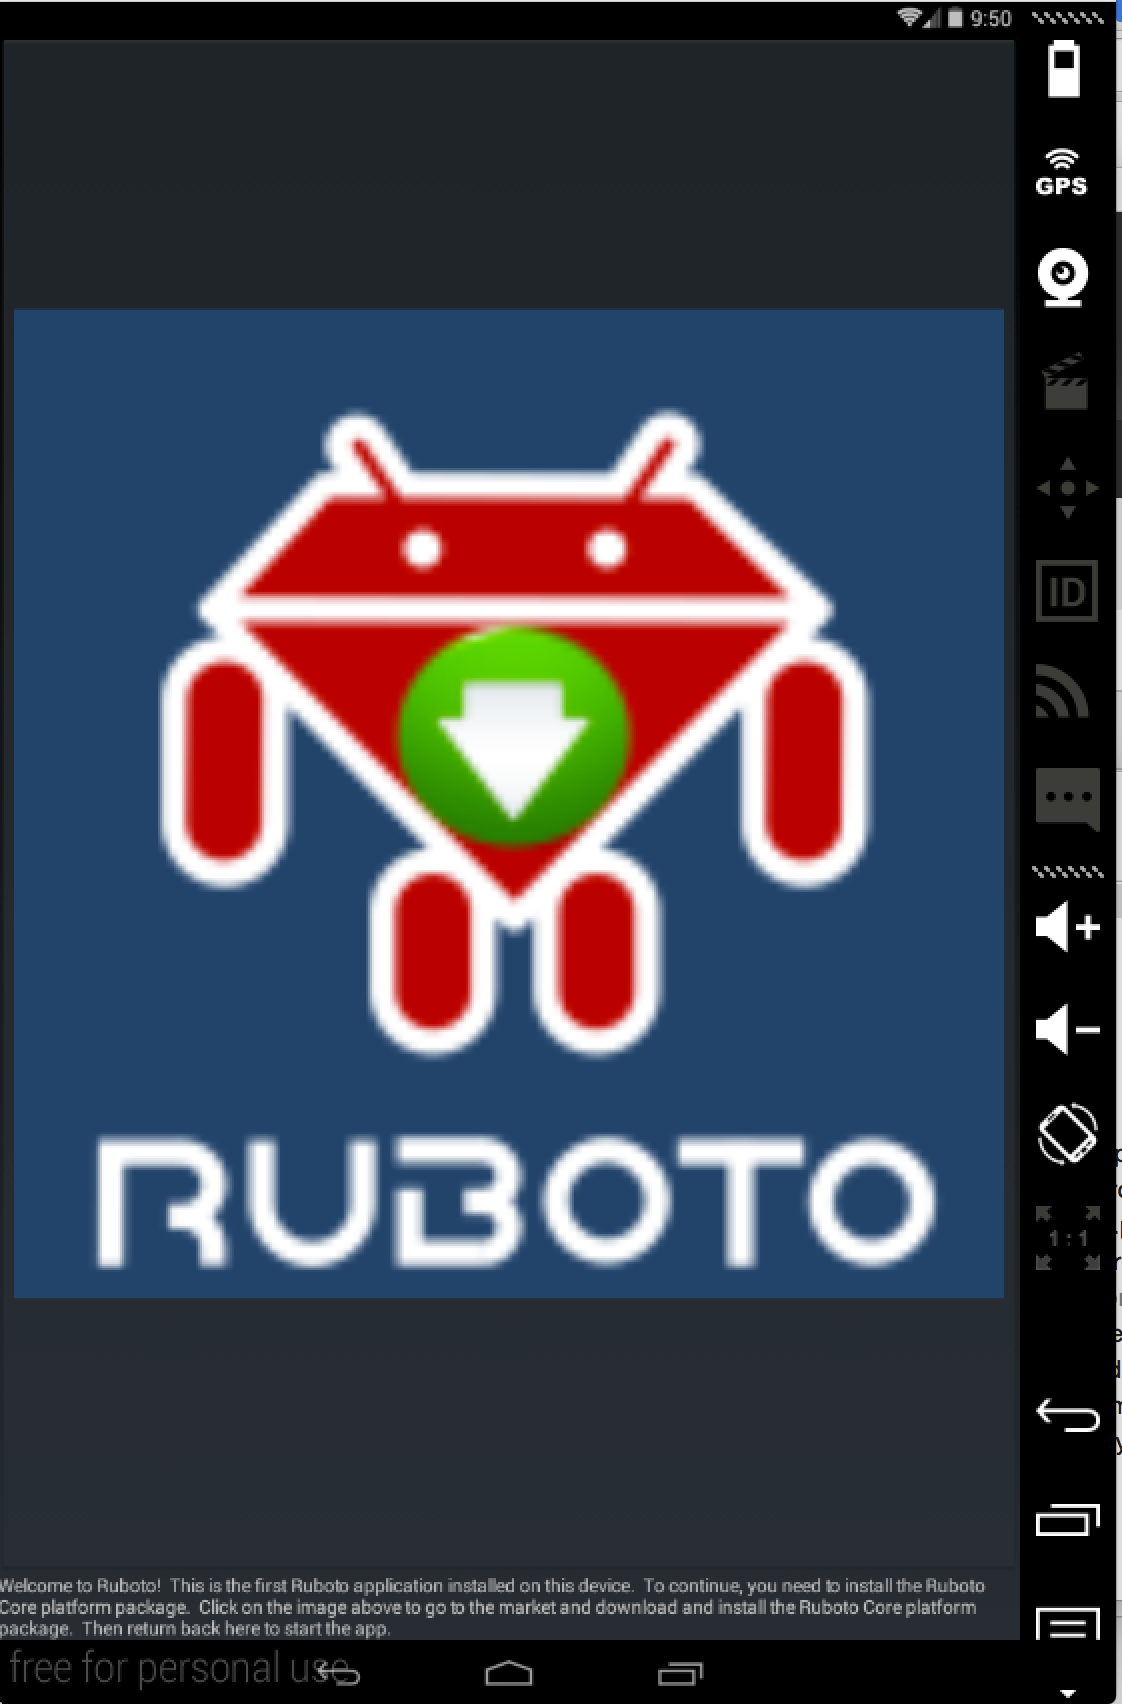
Get Ruboto Core
This splash page is telling you to download the Ruboto Core platform package. The only trick is that on an emulator like this, the Play Store is not available. Instead you need to download the apk from here and then drag it onto the device.
The alternative to this route is to include these core files in your original application. More information about this approach is available from the Ruboto Core README.
Conclusion
In this lesson you downloaded Genymotion, learned how to get devices for it, and learned how to install Ruboto apps onto your virtual device both with and without Ruboto core. Now you have access to a high speed emulator for a wide variety of devices for free. Great!