Building a Simple User Interface with XML
So that was a look at a Ruby-like approach to working with the Android API. Now let's look at a more Android-like way: writing XML.
Now if the thought of writing XML by hand makes you physically ill, allow me to reassure you: the Ruboto way is not an XML writing way! So we will be avoiding it. But XML is an unavoidable part of Android development so we must learn the basics!
Create a Linear Layout
Instead of creating an instance of the LinearLayout class in the
onCreate method of our activity, we'll create it in an XML file, it will be compiled into a View resource and then we'll load it for our Activity.
Step 1 - Create the XML
Go ahead and copy+paste the following into a new XML file that we'll call first_layout.xml (and be sure to save it in that res/layout/ directory)
<?xml version="1.0" encoding="utf-8"?>
<LinearLayout xmlns:android="http://schemas.android.com/apk/res/android"
    xmlns:tools="http://schemas.android.com/tools"
    android:layout_width="match_parent"
    android:layout_height="match_parent"
    android:orientation="horizontal" >
</LinearLayout>
This is the minimum required to get a basic layout going.
- Declare the XML version / encoding
- Create a root element (only 1, see this)
- Specify a width, height and orientation if its a
LinearLayout. We usedmatch_parenthere because our activity has only one view so it may as well take up the whole screen.
So yeah, XML isn't going to save your fingers, but it gives you easy access to a lot of attributes for styling widgets, some of which have no corresponding programmatic method.
Step 2 - Load the Resource
Now we just need to load the XML resource in the activity. In Java we reference the file as
R.layout.first_layout
we'd say that we are referencing the R package (Android's resource package) and the layout class within that.
To translate that over to Ruby takes a little finagling. I'll show you how this looks but I don't want you to worry about it too much. Remember that in the next lesson we'll let Ruboto and JRuby do this kind of stuff for us. Please just bear with me!
class FirstAppActivity
  def onCreate(savedInstanceState)
    super
    package = JavaUtilities.get_package_module_dot_format($package_name)
    setContentView(package.R.layout.first_layout)
  end
end

I'm not a Java -> Ruby expert, but I think what's happening here is that the R package (similar to a module in Ruby) needs
a special accessor because it is capitalized (we've already seen a fair bit of capitalization and :: weirdness haven't we).
Once we have that access though we can get xml resources as shown above.
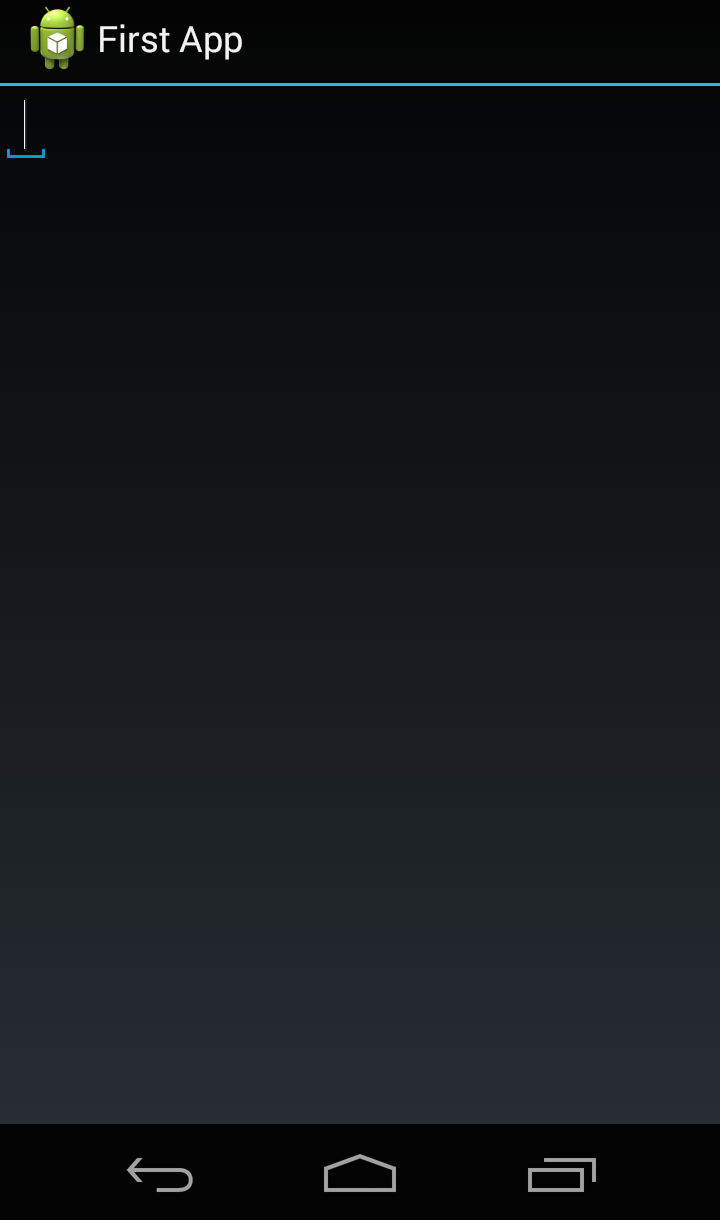
Add a Text Field
At its core, adding an EditText is as simple as just adding <EditText/> to the XML like so:
<?xml version="1.0" encoding="utf-8"?>
<LinearLayout xmlns:android="http://schemas.android.com/apk/res/android"
    xmlns:tools="http://schemas.android.com/tools"
    android:layout_width="match_parent"
    android:layout_height="match_parent"
    android:orientation="horizontal" >
    <EditText/>
</LinearLayout>
But of course some things are needed. For example if you attempt to run the above you'll get an error. The issue is that there is no layout_width attribute (we'll get into error reporting in the future). This is interesting because where we needed to jump through some hoops to access the layout_width of the EditText before, now it is an essential part of what an EditText is and is easily set:
<?xml version="1.0" encoding="utf-8"?>
<LinearLayout xmlns:android="http://schemas.android.com/apk/res/android"
    xmlns:tools="http://schemas.android.com/tools"
    android:layout_width="match_parent"
    android:layout_height="match_parent"
    android:orientation="horizontal" >
    <EditText
      android:layout_width="wrap_content"
      android:layout_height="wrap_content" />
</LinearLayout>
XML ids
So that you can reference resources (such as your EditText) from other places in the code (either programmatically or from other pieces of XML) each item can / should have its own id like so:
<EditText android:id="@+id/edit_message"
  android:layout_width="wrap_content"
  android:layout_height="wrap_content" />
The id syntax works like this: the @ symbol says I'm referencing a resource (@id in this case, we'll use a different resource @string in a moment) and the + symbol says "I'm creating a new resource". So in other words "@+id/edit_message" I'm creating a new resource id: edit_message and now you can refer to your EditText by this id.
When you create resources like this, you really are adding to a HUGE pile of resources that are already made available by the R package. So that + sign isn't just for show!
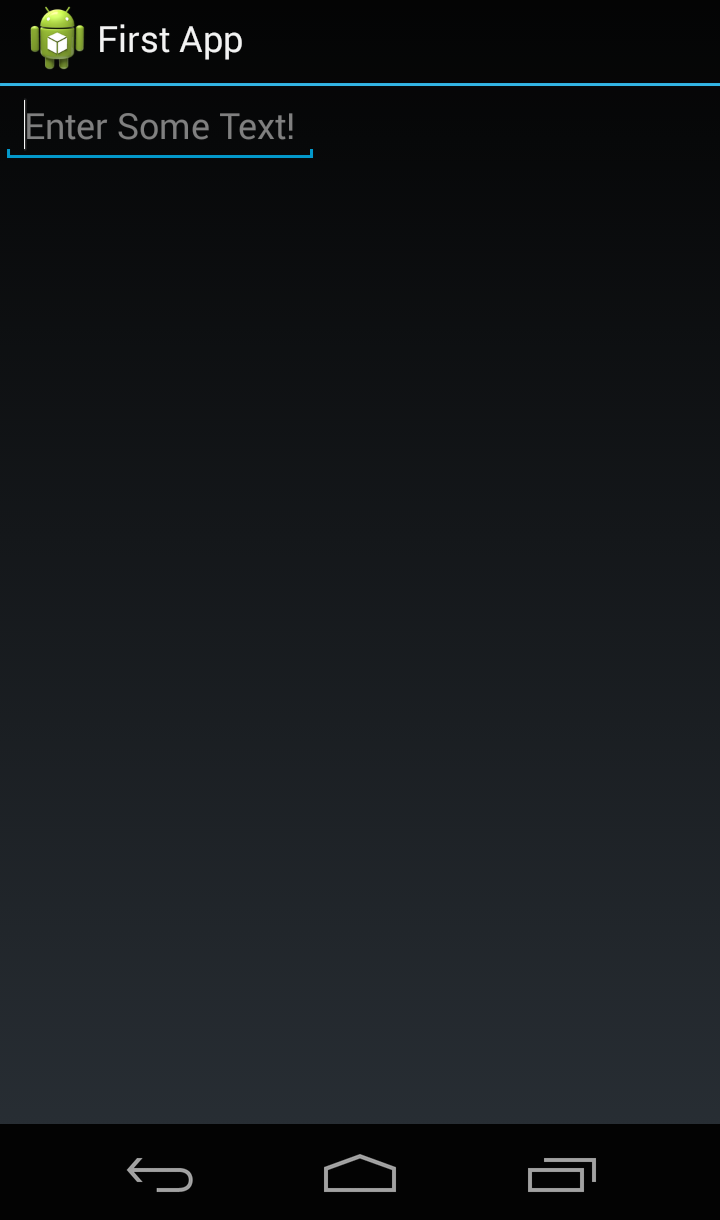
Attributes and String Resources
Now, let's say we want to add a "hint" text for the EditText like we did in the previous lesson. Next to the setHint method in the docs is an attribute: android:hint. We use it like so:
<EditText android:id="@+id/edit_message"
  android:layout_width="wrap_content"
  android:layout_height="wrap_content"
  android:hint="Enter Some Text!" />
We could write the content of the hint here directly. But the Android way is to reference a string resource like this:
<EditText android:id="@+id/edit_message"
  android:layout_width="wrap_content"
  android:layout_height="wrap_content"
  android:hint="@string/edit_message" />
Go ahead and open your res/values/string.xml file. You'll see there's already a string there giving the name of the app.
Let's add a new string resource:
<?xml version='1.0' encoding='UTF-8'?>
<resources>
    <string name='app_name'>First App</string>
    <string name="edit_message">Enter Some Text!</string>
</resources>
Please take a minute to absorb that. The machinery read in that xml file and made the contents of a string resource with name 'edit_message' available to you as a variable. Very useful!
Here's a note from the developer trainings explaining the importance of doing strings this way:
For text in the user interface, always specify each string as a resource. String resources allow you to manage all UI text in a single location, which makes the text easier to find and update. Externalizing the strings also allows you to localize your app to different languages by providing alternative definitions for each string resource.
Before we move on to the button, I'd like to point out that this business about resources is important. There is a whole chunk of the guides dedicated to them!
For example, in the above, I put my strings.xml in the res/values/ directory. Is that directory name special? What about the strings.xml filename? Does it have to be strings? The answers to basic questions like this (yes and no in that order) can be found here. As questions like these arise, don't ignore them! Go to the guides and read up!
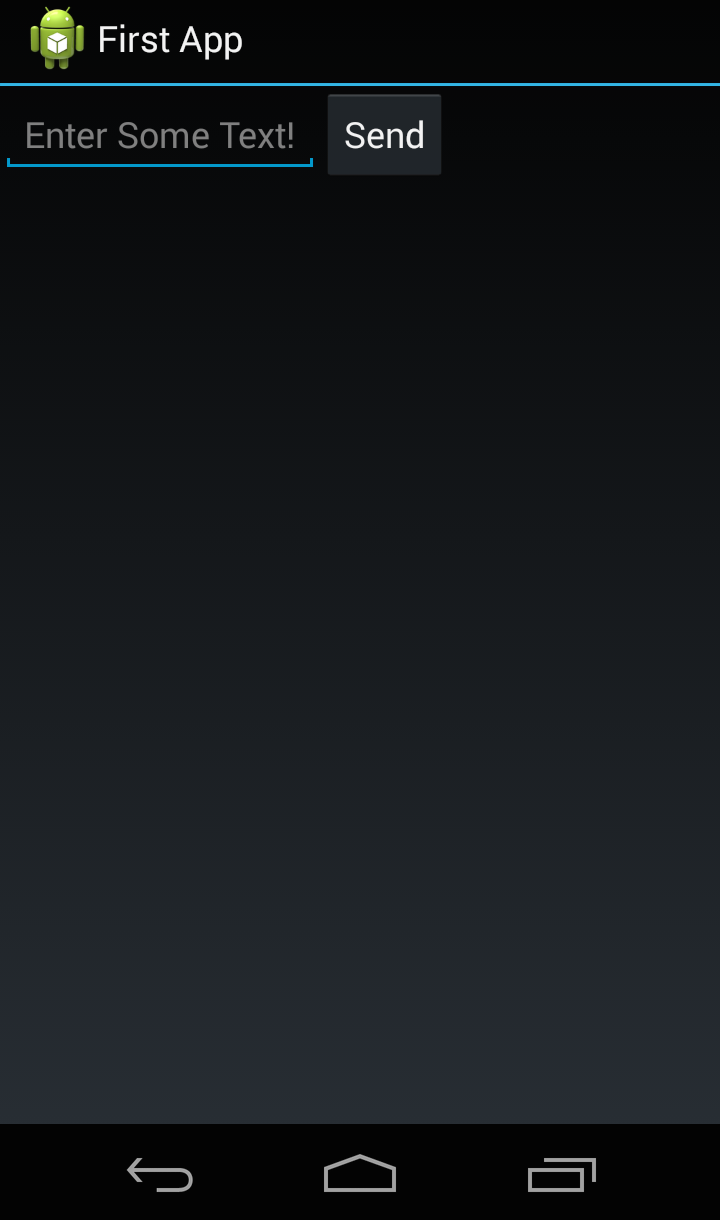
Add a Button
If you're starting to see the pattern then good! See if you can figure out how to add a button that says 'Send' using XML.
(Give it a try before you read on and see the answer).
If you're not seeing the pattern, here's how it's done:
<Button
    android:layout_width="wrap_content"
    android:layout_height="wrap_content"
    android:text="@string/button_send" />
(+10pts if you used a string resource like above instead of adding the string directly!)
Adjusting Width via XML
In the last lesson I spent a lot of time talking about how to adjust the width of that EditText. But in this lesson you can already see how to get the layout_width to match_parent so the only thing I need to mention is weight. And even then it's very simple:
<EditText android:id="@+id/edit_message"
       android:layout_weight="1"
       android:layout_width="0dp"
       android:layout_height="wrap_content"
       android:hint="@string/edit_message" />
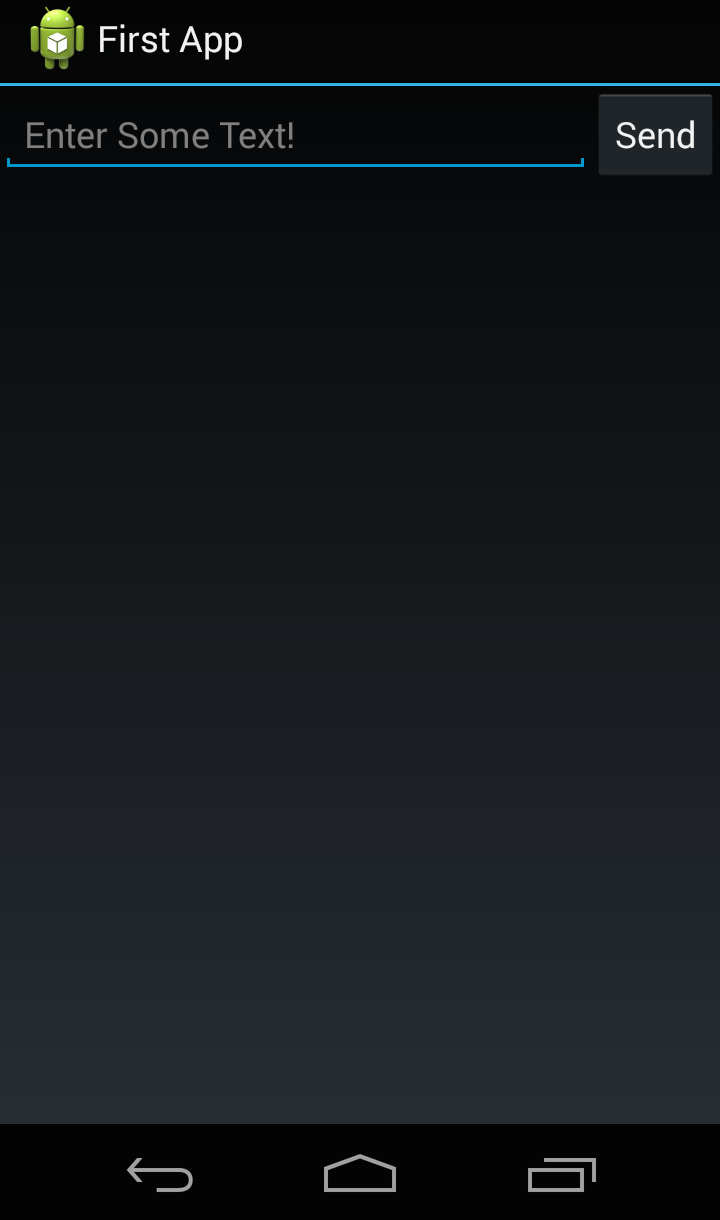
The only thing new here is the layout_width="0dp". Again, from the training:
Setting the width to zero improves layout performance because using "wrap_content" as the width requires the system to calculate a width that is ultimately irrelevant because the weight value requires another width calculation to fill the remaining space.
Conclusion
So that's it for an XML UI. Since this is the Android way, it does simplify some things (like size control), but at the end of the day, no one should have to write XML by hand! That means this way is a little sluggish without 3rd party tools to do the heavy lifting for us.
Now let's see how Ruboto turns all of the above into something much-more Ruby-like and that means a lot more intuitive / fun!